Hello there fellow crafters!
What are the BS Sessions?
Well Samantha knows how to work a marker like nobody's business and Becca loves to get messy with mixed media. We both wanted to learn the other person's crafty secrets so we're going to ask one another a question on the last Thursday of the month. Becca will provide you with some amazing Mixed Media techniques and Samantha will show you some tips and tricks about coloring! We'll both provide our followers with a little tutorial, because if we have these questions - our followers might too!
So Becca's question to me this month was: "How do you blend skin so easily?"
Well first off, it takes A LOT OF PRACTICE! Nothing works the first time around, it's something you have to keep working at.
In this tutorial I am using Copics, but you can apply the techniques to ANY brand of marker!
STEP 1: Gather the image you want to color! The Copic colors I used for this Skin Tutorial are: E000, E00, E21, E11, E04 <--- In that order from lightest to darkest.
For Spectrum Noir: FS1, FS4, FS9, TN3, TN4
STEP 2: Take your lightest color (in my case E000) and just color in everywhere there is skin. This gives it a base color to work with and it makes it easier to blend later.
STEP 3: Take your darkest color (E04) and lay it down where your shadows, or darkest areas would be. *This is the hardest part - the rest is easy peasy!*
STEP 4: The next step is to take your second darkest color (E11) and go over your shadow area and extend the color out just a little bit.
STEP 5: Then you use your next color down (E21) and do the same thing! However you start this color at the end of the last color (E11). So you don't want to start from the very edge because this will end up de-saturating your colors.
STEP 6: You take your next color (E00) and extend the color a little bit further in.
STEP 7: Take your lightest color (E000) and then fill in the gaps. Remember not to color over your whole image as it could de-saturate your colors.
STEP 8: Now that you skin is all done - You need to add in your blush (R20)! For this step you start wide on the checks and work your self in on the face so it comes to a soft point. This should look triangular.
STEP 9: You then take your lightest color (E000) again and go over the edges of where you just colored your blush.
VIOLA! You've got yourself a beautifully color skin tone!
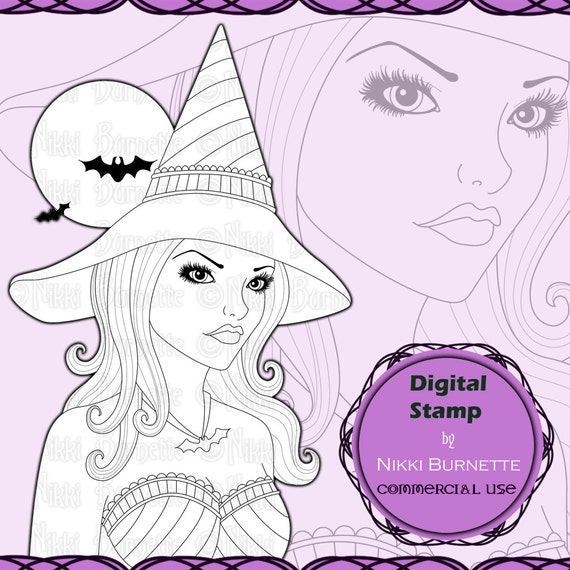
Here's the final piece colored in case you're interested in seeing it!
SO, thanks for joining me on the skin coloring tutorial today! Becca has provided an AWESOME tutorial on how to use a stencils and produce SHARP and CLEAN lines for mixed media or anything you can use a stencil on really!
Stay tuned for next month's BS SESSIONS, which will appear here on October 29th!


