


Hello there fellow crafters!
A while ago, Becca (Damsel of Distressed Cards) and I announced that we had collaborated to bring you "The BS Sessions".

What are the BS Sessions?
Well Samantha knows how to work a marker like nobody's business and Becca loves to get messy with mixed media. We both wanted to learn the other person's crafty secrets so we're going to ask one another a question on the last Thursday of the month. Becca will provide you with some amazing Mixed Media techniques and Samantha will show you some tips and tricks about coloring! We'll both provide our followers with a little tutorial, because if we have these questions - our followers might too!
So Becca's question to me this month was: "How do you color black hair and black clothing?"
Well first off, it takes A LOT OF PRACTICE! Nothing works the first time around, it's something you have to keep working at.
Secondly, I learned A LOT from the Kit & Clowder Coloring Classes.
In this tutorial I am using Copics, but you can apply the techniques to ANY brand of marker!
I did this technique with two different color combos for Black and two different images!
I did this technique with two different color combos for Black and two different images!
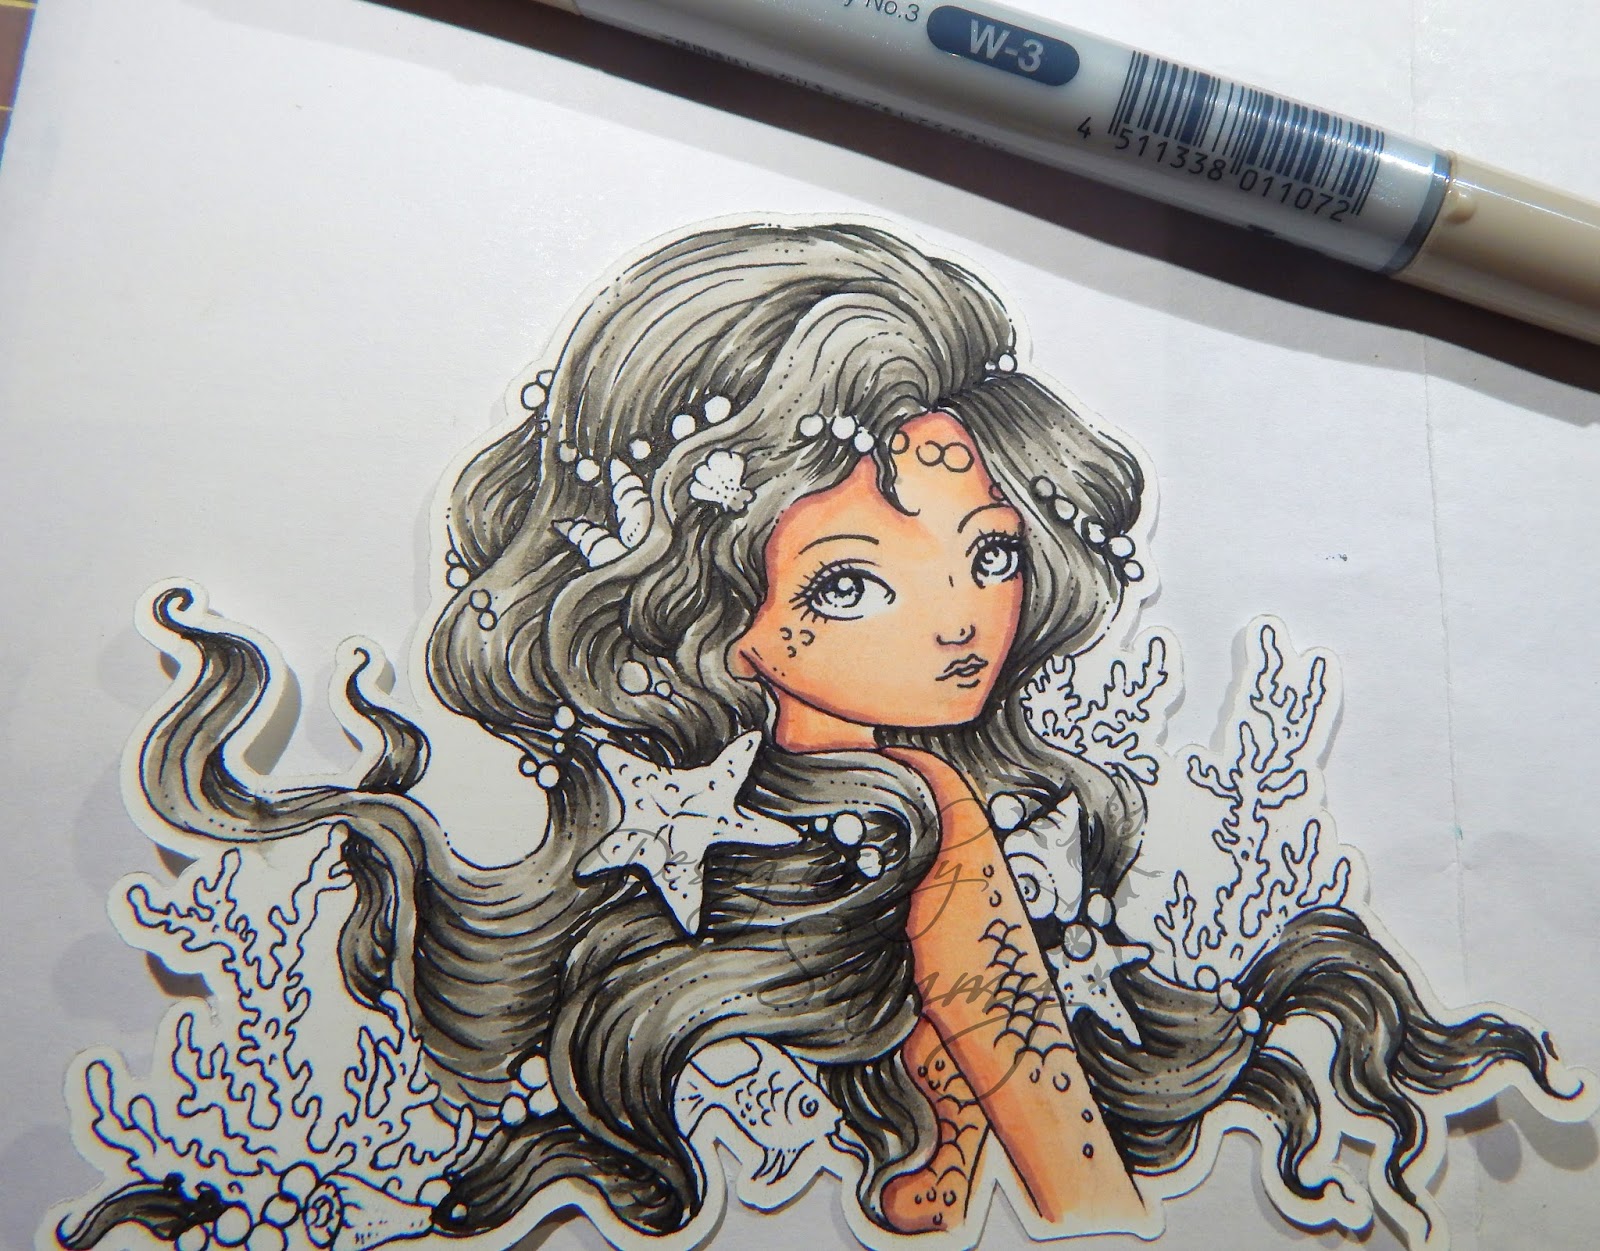
The first image is: Embrace the Ocean by Ching Chou Kuik
Copic Markers - W9, W7, W5, W3, B24 (optional)
Spectrum Nor: BG9, BG7, BG5. BG3, TB4 (optional)
So - quick note - Hair can be difficult and it too takes A LOT of practice! However, I hope this tutorial gets you started in the right direction and that you have fun with it!
Copic Markers - W9, W7, W5, W3, B24 (optional)
Spectrum Nor: BG9, BG7, BG5. BG3, TB4 (optional)
So - quick note - Hair can be difficult and it too takes A LOT of practice! However, I hope this tutorial gets you started in the right direction and that you have fun with it!

Step 1: The first thing you want to do is start with your darkest color (W9) and add your strokes where the darkest parts would be - aka the shadows. As you can see here, the pearls would cast a shadow on her hair, so would the "dips" in the hair, smallest points (like ends), and around her face. These strokes can be thought of as "Flicks" - You start with the point in the darkest part and flick outward towards the lightest part of the hair. THIS is the hardest step - the rest seem to fall in line :)

Step 2: Take your next color (W7) and go in between the darkest strokes (flicks) you just created and extend them a little further than the last strokes.

Step 3: EXACTLY the same as Step 2 - just extend it even further towards the lightest part of the hair.
Step 4: Getting the hint here ;) Same thing again, each time you just extend the color out a little further. The more colors you use the more the colors will eventually start to overlap giving you that definition you want to see.

Step 5: OPTIONAL - Since she was a mermaid I decided to use a fun color to streak it through her hair. In this case, I used B24. In this step I just streaked some of the color through what I'd already colored and made sure it went from the darkest part of the hair to the lightest part.
VIOLA! You've got yourself a beautifully colored hair! By the way you can use this technique FOR ANY COLOR of hair!
Here's the final piece colored in case you're interested in seeing it!

So here's the second part of the tutorial! In this example I colored, what we would consider, jet black hair and also black clothing.
For this tutorial I used: Wednesday Sassy from Sassy Studio Designs
Anyone else a fan of the Adams Family?!

Copic: C9, C7, C5, C3
Spectrum Noir: IG9, IG7, IG5, IG3

Step 1: I like to color my areas that are going to be black with my lightest color (C3). This does two things:
1 - It prevents me from messing up and coloring another part of her black accidentally (like her legs)
2 - It gets a good saturation on the paper and allows blending to be much easier.

Step 2: Using your darkest color (C9) - color where the darkest parts of her outfit would be. Anywhere there would be a shadow should have this color.

Step 3: Take your next darkest color (C7) and extend the color a little further out. Don't go completely over what you've already colored because it will de-saturate the color and look a little funny. When you color just go over the edges of where the last color ended so you get a smooth blend.

Step 4: Take your next color (C5) and repeat step 3.

Step 5: Take your lightest color (C3) and blend in the rest of the empty space to make the blend seamless.

Step 6: The hair works exactly the same way as the first tutorial. Your darkest color (C9) should be in the shadows and darkest parts of her hair and flick outward.

Step 7: Next color (C7) and extend a little futher.

Step 8: Next color (C5) and extend further. Since this hair was small to color, I didn't need to use C3.
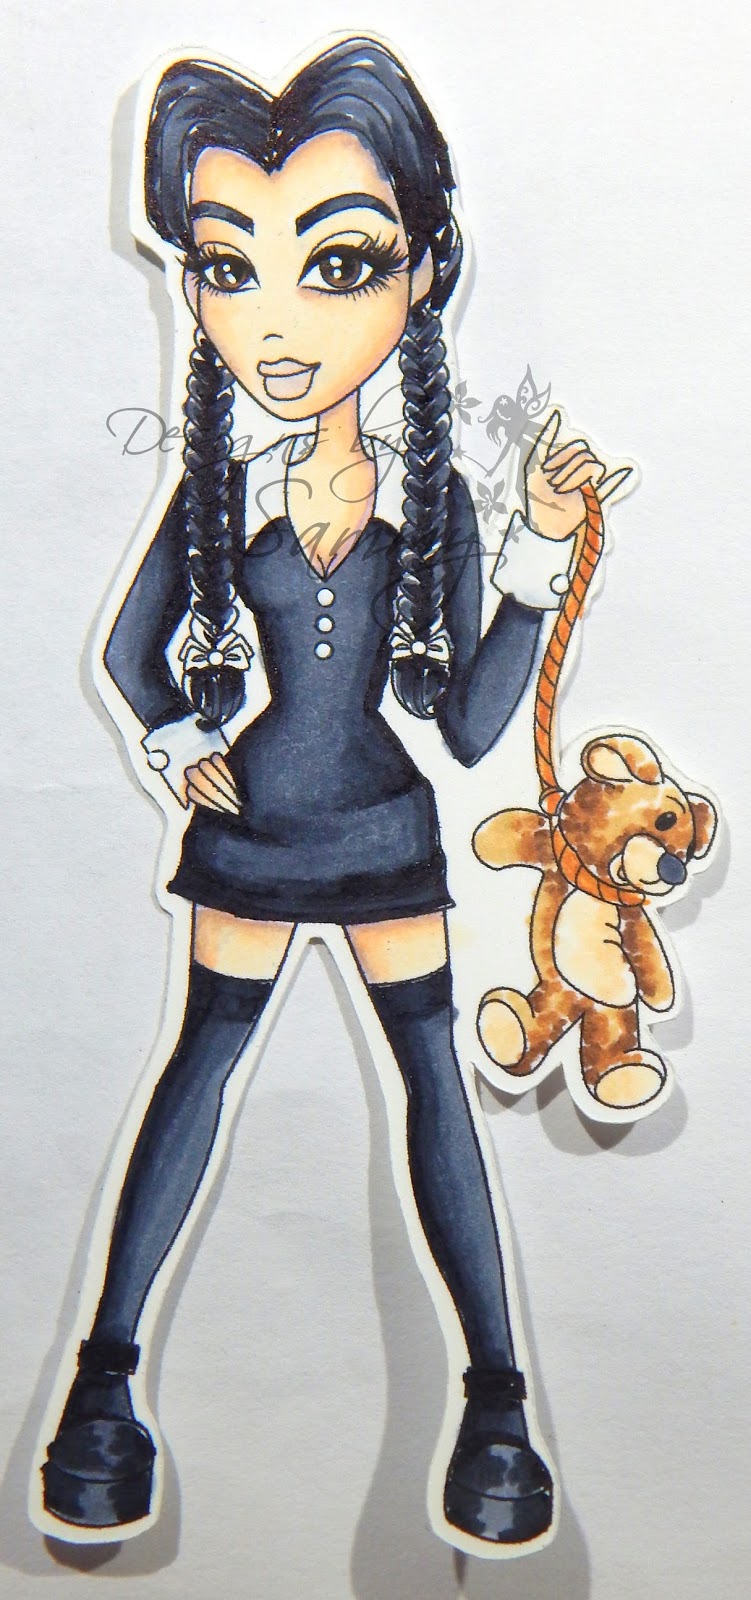
Here is the finished image! Although I didn't do it in this tutorial - I HIGHLY recommend, when coloring with very dark colors, to do it LAST! It was very difficult to color her skin afterwards without pulling some of the black into it!
**FINAL NOTE** - The blending cardstock you uses MATTERS! It makes a world of a difference in your coloring! My favorite is Heavenly White 80# Cardstock which is sold by The Paper Temptress! Not sure what kind of blending carstock is right for you? NO PROBLEM! She offers a "Blending Copic Sample Pack" Which allows you to test a variety of blending cardstocks so you can find YOUR favorite.
SO, thanks for joining me on the skin coloring tutorial today! Becca has provided an AWESOME mixed media tutorial on her blog - GO CHECK IT OUT!
Stay tuned for next month's BS SESSIONS, which will appear here on November 26th!


Love the streak of blue in the hair! It gives her so much personality! I just love these sessions! I get so much out of them!
ReplyDeleteGreat tutuorial on how to colour hair and clothing in black. Will have to give it a try and practice, practice, practice :-) Beautiful coloured images!
ReplyDeleteHugs,
Lena
Lena’s Creations
Very pretty! Thank you!
ReplyDelete