Hello there fellow crafters!
What are the BS Sessions?
Well Samantha knows how to work a marker like nobody's business and Becca loves to get messy with mixed media. We both wanted to learn the other person's crafty secrets so we're going to ask one another a question on the last Thursday of the month. Becca will provide you with some amazing Mixed Media techniques and Samantha will show you some tips and tricks about coloring! We'll both provide our followers with a little tutorial, because if we have these questions - our followers might too!
So Becca's question to me this month was: "How do you color in greyscale?"

This can be easy because it only use 8-10 markers.
However, that's why it can be difficult too because it may be hard to show variation in colors with only 8-10 markers.
I am using Copics for this demonstration, but you can apply them to any marker brand! The Spectrum Noir conversion is as follows:
Copic: C0, C1, C3, C5, C7, C9, 100 (black)
SN: IG1, IG3, IG5, IG7, IG9, IG10, True Black
For the skin I will be using the Copic Combo: C0, C1, C3, C5 (SN Combo: IG1, IG3, IG5) Using the Skin Coloring Tutorial I've provide in the past (
HERE) - Use your lightest color and quickly go over the skin's area once.
Then take your darkest color and put in the shadows on the image.
From there take your next darkest marker and meeting the last color blend outward towards the lightest part of the skin.
Do the same step again with your next marker, and then the lightest marker until the skin is completed as shown above.
Now, your next step is pick another element in the image and try and make it either lighter or darker than what you just colored. Since the skin I colored was pretty light, I chose to make the dragon pretty dark. I used the following Copic Combo: C9, C7, C5, C3 (SN Combo: IG10, IG9, IG7, IG5)
On top of trying to show multiple shades of color, I went with a different technique on the dragon to really contrast the look of everything. This technique is called "Stippling". Essentially, all it is, is coloring with dots. You just dot your marker in the areas you want the color. So the first step I stippled in the shadows and then I did the same thing with the next darkest color.
Then again with the next color. It is very much the same technique as the skin - only with dots instead.
For the wings I went with a smooth blend, which is the exact same technique I did with the skin, and I used my 2 lightest colors to do that.
So far here is what we've got!
The next step is her clothing and hat. Since her skin is lightly colored, it's best to make her clothes darker to show contrast. Again, we start with the darkest marker and do all the shadow areas as shown above. This is the hardest step.
After you have put in your shadows, all you have to do is build up color working towards your lightest color.
Until you've reached your desired effect! The next step is her hair, which to be quite honest I forgot to photograph this part because I go so carried away coloring - BUT - have no fear, you can check out a full hair tutorial
HERE apply the same techniques to this greyscaling tutorial. I used n in between color variation for her hair as I wanted it to stand apart from her dress and skin. I used the lighter shades to do her stockings, and the top of her hat.
Ta - da!

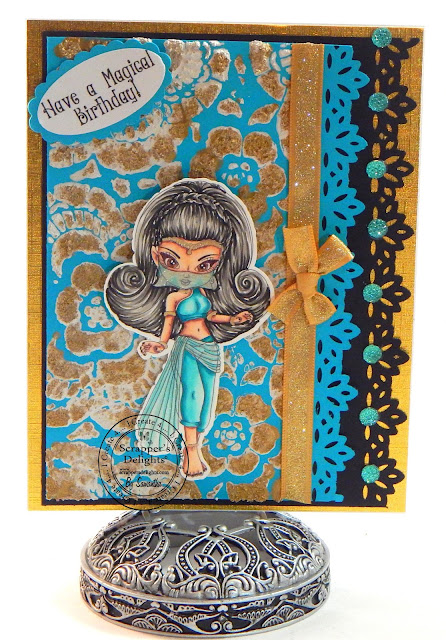
If you're interested in seeing it - here is the greyscale card I created with this image :)
In this tutorial I am using Copics, but you can apply the techniques to ANY brand of marker!
**FINAL NOTE** - The blending cardstock you uses MATTERS! It makes a world of a difference in your coloring! My favorite is Heavenly White 80# Cardstock which is sold by
The Paper Temptress! Not sure what kind of blending carstock is right for you? NO PROBLEM! She offers a "
Blending Copic Sample Pack" Which allows you to test a variety of blending cardstocks so you can find YOUR favorite.
SO, thanks for joining me on the skin coloring tutorial today! Becca has provided an AWESOME mixed media tutorial on her blog - GO CHECK IT OUT!


